Flova.ai
English
Start Creating

Flova AI tutorial · from brief to finished cut

How to use flova ai video generator for your first polished video

This practical guide to how to use flova ai video generator takes you from a loose idea to a directed, reviewable video. Flova AI is easiest to control when you treat it as a production partner: define the intent, supply useful references, inspect each scene, and revise with specific notes instead of asking for everything at once.

Beginner friendly Text + references Scene-by-scene control
Create with Flova AI

Prerequisites

Before opening the workspace, decide what the video needs to communicate and what should remain consistent from shot to shot. A short creative brief is enough: describe the subject, audience, mood, approximate duration, aspect ratio, and the action that must happen on screen. If you are adapting an existing concept, collect only the references that clarify it. One strong image, a concise style note, or a sample frame is usually more useful than a crowded folder.

You do not need a perfect prompt or filmmaking vocabulary. Flova AI can turn ordinary language into a workable direction, then help you refine the result. If you want a broader overview of the platform before starting, read what Flova AI is; if your goal is specifically a text-to-video workflow, the Flova AI video generator guide adds useful context about its creative modes.

Numbered steps

The most reliable process is deliberately sequential. Let Flova AI establish the idea first, use a compact brief to shape the visual language, and then revise the individual parts that miss the mark.

  1. Describe the outcome

    Start with the result rather than a pile of camera commands. Say who or what appears, what changes during the shot, where it takes place, and how the viewer should feel. Add duration and format when they matter.

  2. Shape the first draft

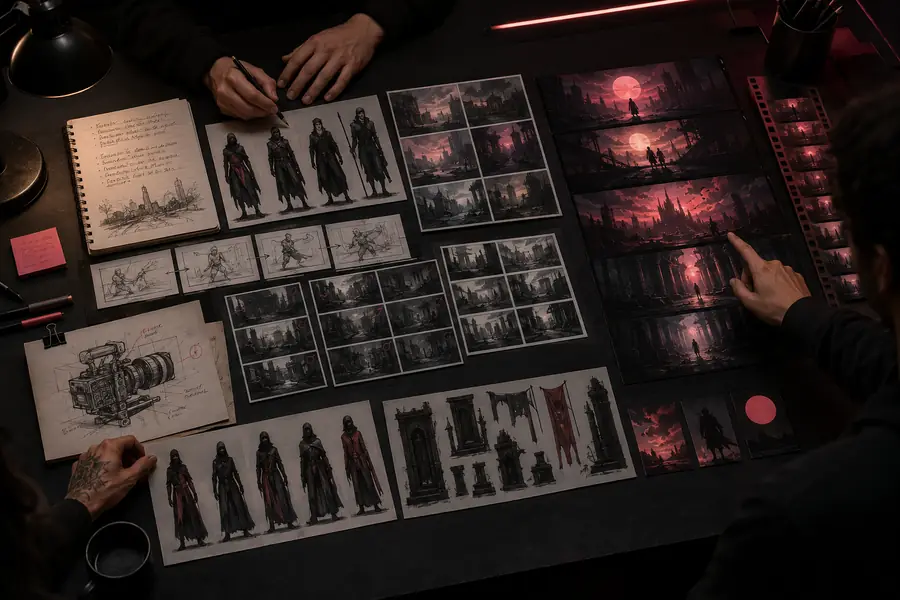
    Give Flova AI your references and ask it to turn the brief into a sequence of scenes or shots. Review the storyboard before generating too many variations. Correcting structure early saves more time than polishing a weak take.

  3. Direct, compare, export

    Comment on one problem at a time: identity, motion, framing, timing, or tone. Compare versions, keep the strongest take, and export only after the whole sequence feels coherent.

Set up once, move faster

Your setup checklist

These requirements keep the first generation focused. Optional inputs can improve consistency, but they should support the idea rather than bury it under instructions.

  • Write a one- or two-sentence creative brief with the subject, action, setting, and intended mood.
  • Choose a clear output format, such as a vertical social clip, a widescreen short, or a square product scene.
  • Separate must-have details from nice-to-have details so the model knows what cannot change.
  • Optional: add a reference image, palette, character note, or example frame for style and continuity.
  • Optional: prepare review notes in plain language instead of rewriting the full prompt after every result.

Keep the workflow connected

Once the first draft exists, use the workspace as a conversation rather than starting over. Ask Flova AI to keep the character, palette, or composition while changing one specific element. This is especially helpful when you are learning how to use flova ai video generator for a repeatable production process.

Common errors and fixes

The prompt is too broad

“Make a cinematic ad” leaves the subject, audience, movement, and visual hierarchy undefined. The result may look attractive but fail the brief.

Fix: name the main subject, its action, the environment, the mood, and one camera intention.

Too many changes at once

Changing wardrobe, lighting, camera motion, setting, and pacing in one revision makes it difficult to tell what improved or broke.

Fix: isolate the highest-impact issue, then compare the new take with the previous version.

References conflict

A realistic portrait, a flat graphic palette, and a fast action reference may pull the generation in incompatible directions.

Fix: label each reference by purpose: identity, composition, motion, texture, or color.

Move from one good take to a system

Advanced tips

After a few projects, the biggest improvement comes from building reusable direction. Keep a small vocabulary for your visual language: lens feeling, motion speed, contrast, palette, texture, and performance style. Repeating those terms helps Flova AI understand what should carry across a sequence.

For character-led work, describe identity before action. State the age range, silhouette, clothing anchors, hair, and distinguishing features, then explain what the character does. For product work, define the hero angle and material response before adding decorative movement. A stable subject gives the video generator fewer competing decisions.

Generate short proof shots before committing to a long narrative. Test the look, motion, and continuity independently. Once those elements work, combine them into a larger sequence. Save successful descriptions and references so your next project starts with a tested foundation instead of a blank canvas.

It cannot guarantee identical frames

Generative video may subtly change faces, hands, objects, or textures between shots, even when the prompt is consistent.

Workaround: use references, keep prompts specific, and select the strongest take rather than expecting pixel-level continuity.

It cannot replace a final edit pass

Timing, sound balance, captions, legal checks, and brand approvals still need human review before publication.

Workaround: treat Flova AI as the creative production layer, then inspect the exported cut in your delivery workflow.

It cannot infer unstated priorities

If realism matters more than speed, or product identity matters more than background detail, the model needs you to say so.

Workaround: rank the brief: must preserve, should improve, and may vary.
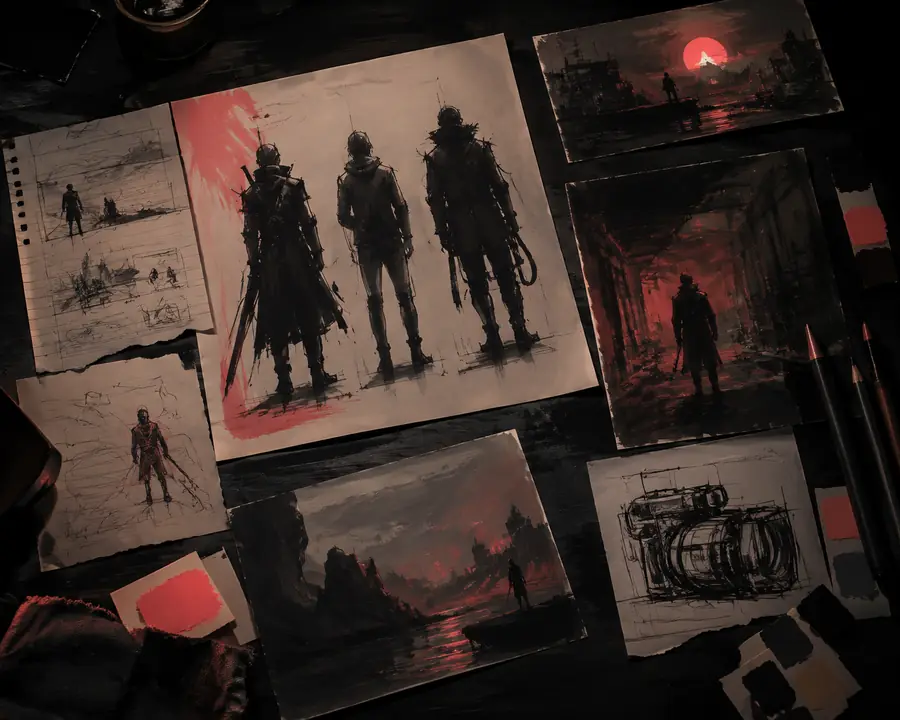
A visual checkpoint before delivery

Tutorial FAQ

What should I write in my first prompt?

Describe the subject, action, setting, mood, duration, and output shape. Begin with what the viewer should see and feel, then add one or two visual references. You can make the direction more technical after the first draft reveals what needs control.

How do I keep a character consistent?

Repeat the identity anchors that matter, provide a clear reference, and avoid changing several appearance details between shots. Review continuity as a sequence instead of judging every image in isolation.

Why does my generated motion look unnatural?

The action may be too complex for the shot length, or the camera direction may compete with the subject motion. Simplify the movement, state its speed, and test a shorter proof shot before rebuilding the full scene.

Should I revise the whole video after one bad shot?

Usually not. Identify whether the problem is the storyboard, a single shot, the reference, or the prompt. Targeted revisions preserve the parts that already work and make comparisons easier.

Early AI video concept with loose visual direction
Before · loose direction
Refined AI video scene with consistent cinematic direction
After · directed and refined

The goal is not to add instructions endlessly. Start with a readable creative idea, inspect the generated evidence, and add only the direction that solves the visible problem.